Dahlia Diary
How to Store Dahlia Tubers for Winter: Step-by-Step Guide
A single healthy dahlia clump can produce 5–15 new tubers each fall. Overwintered well, those tubers give you a bigger, better garden next year — and enough extras to trade, sell, or gift. Here is the exact process growers use to dig, clean, divide, and store dahlia tubers so they come out of winter plump and ready to sprout.
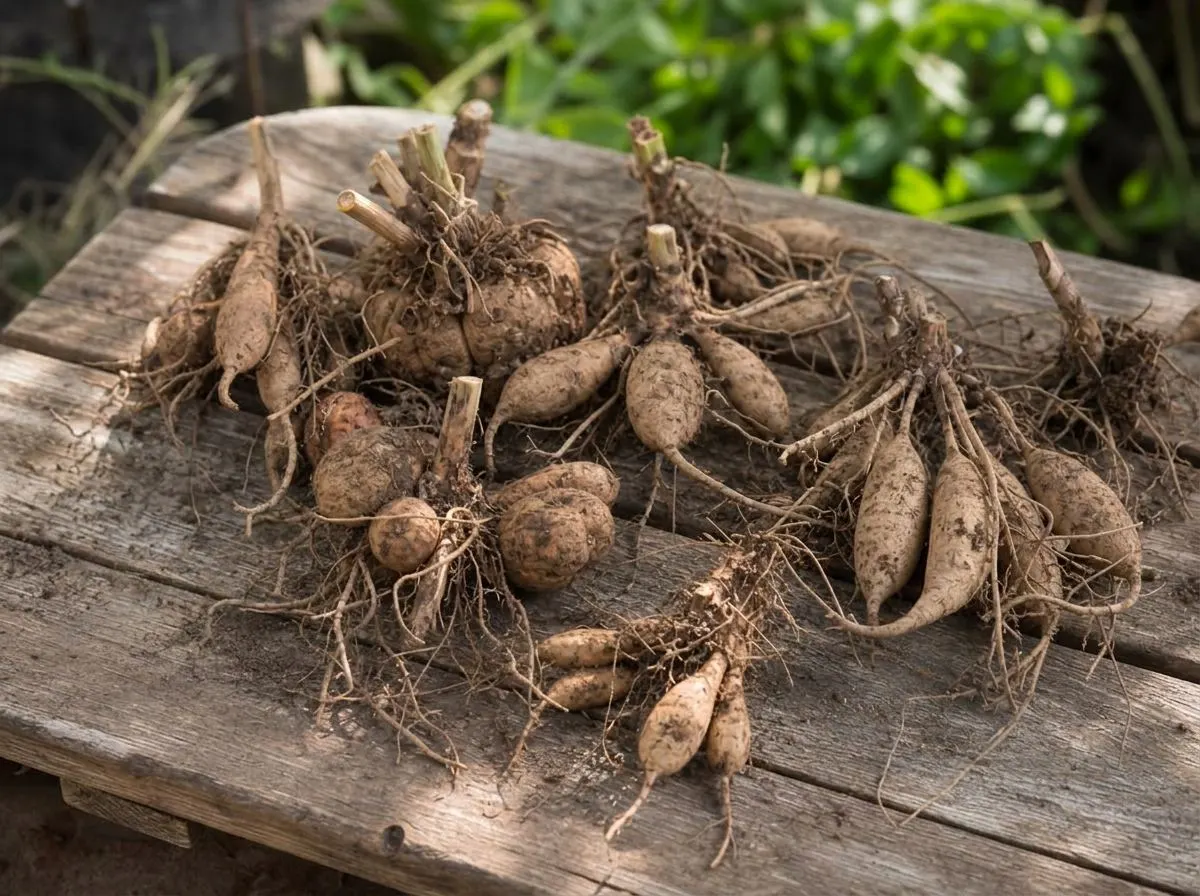
When to dig dahlia tubers
In most climates, dig dahlia tubers after the first hard frost (28°F / -2°C or colder) has blackened the foliage. The frost signals the plant to move sugars down into the tubers and set the eyes for next season. In frost-free zones (USDA 8 and warmer), wait until the plants have naturally yellowed in mid-to-late fall.
- Zones 3–5: late September to mid-October
- Zones 6–7: mid-October to early November
- Zones 8–10: November or leave in ground with heavy mulch
Cut stems down to 4–6 inches and leave the clumps in the ground for 10–14 days after cutting. This "curing" period thickens the tuber skins, sets the eyes, and dramatically reduces storage rot. Skip it and you'll see far more shrivel and mold by January.
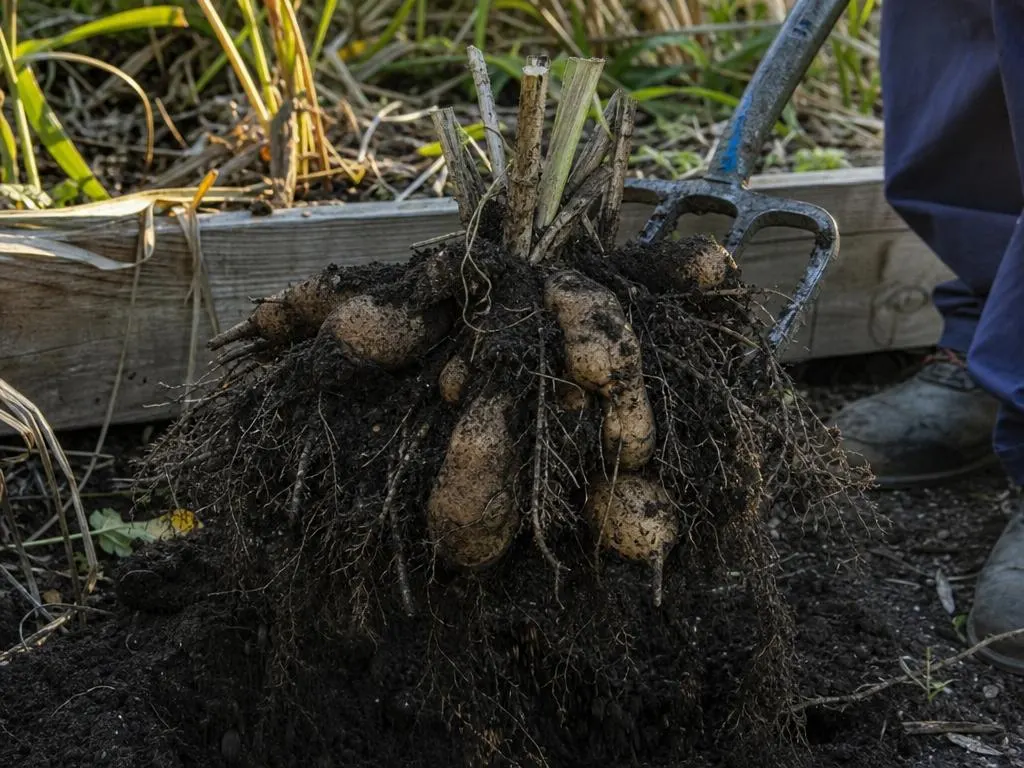
Step 1: Digging without breaking necks
Dahlia tubers snap at the neck — the pinch point where the tuber joins the crown. A broken neck kills the tuber even if the flesh looks perfect. Work slowly:
- Loosen a wide ring 10–12 inches out from the stem with a spading fork.
- Rock the fork gently on all four sides until the clump lifts free.
- Never pull on the stem — always lift from underneath the tuber mass.
- Flip the clump upside down for 20–30 minutes to drain water from the hollow stems.
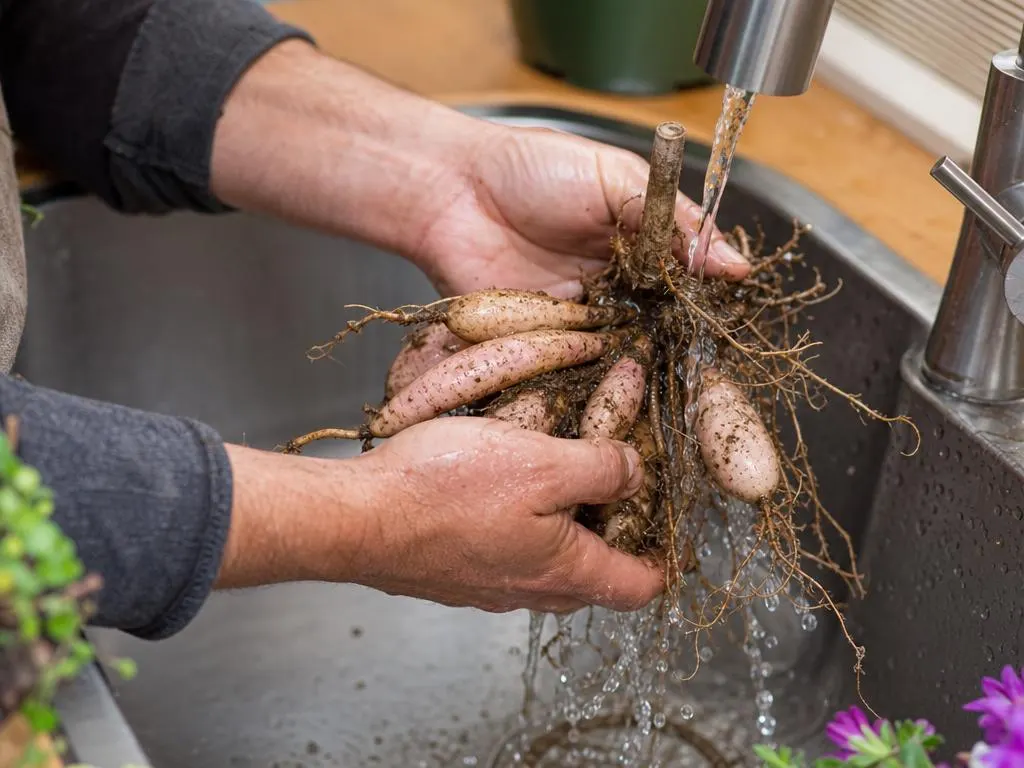
Step 2: Washing and cleaning
Clean tubers store far better than dirty ones. Soil holds moisture, fungus spores, and insect eggs. Rinse each clump under a sink faucet on a firm spray until the tubers are visibly clean. A soft brush helps in the tight crevices between tubers.
Trim off all thin feeder roots with pruners. Cut any obviously rotten, broken, or hollow tubers off the crown and discard them. Label each clump immediately with a permanent marker or a plant tag tied to the crown — you will not remember which is which by February.
Step 3: Dividing (now or in spring)
You can divide clumps in fall (right after washing) or in spring (before planting). Both work — pick one:
- Fall division — eyes are harder to see but cuts heal cleanly in the curing week. Best if you're short on storage space or selling tubers.
- Spring division — eyes are obvious and swollen, so you'll waste fewer tubers on eyeless divisions. Best if you have room to store whole clumps.
Every viable division needs three parts: a piece of the crown, at least one eye (a small bump where the tuber meets the crown), and one intact tuber body with an unbroken neck. A tuber without an eye will never sprout, no matter how plump it looks. Not sure what an eye looks like? See How to identify an eye on a dahlia tuber for close-up photos.
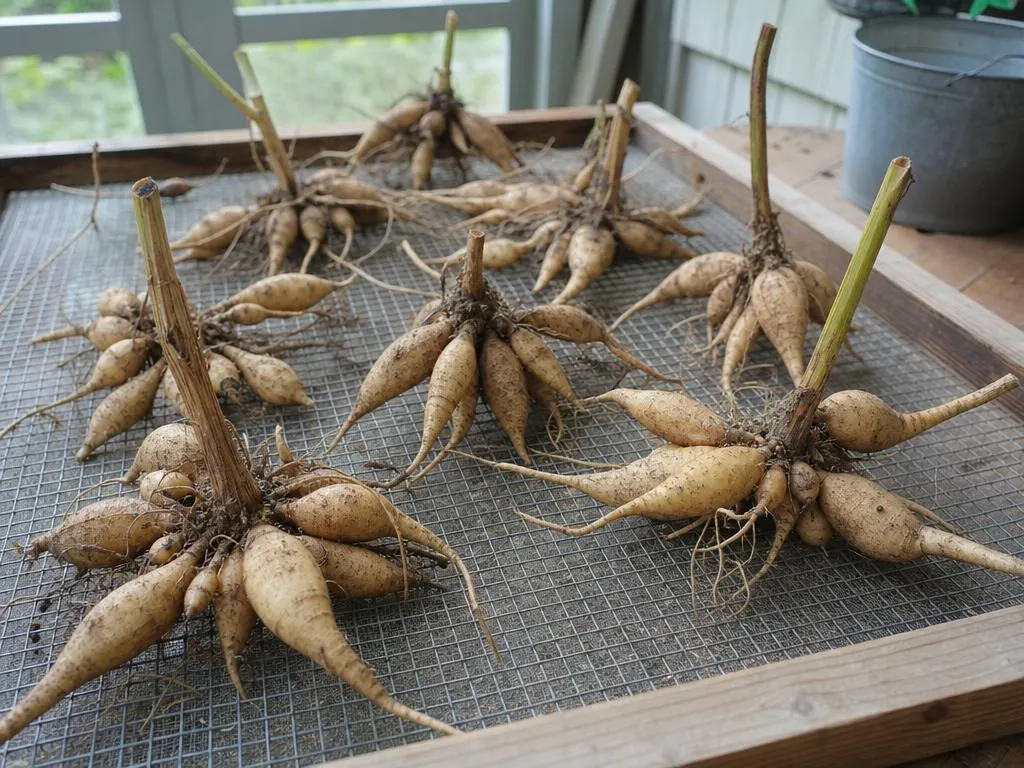
Step 4: Curing before storage
Whether you divide or not, let cleaned tubers air-dry in a cool (50–60°F), shaded, well-ventilated spot for 1–3 days. You want the skins dry to the touch and any cuts callused over. Skipping this step is the #1 cause of storage rot.
Do not cure in direct sun (sunburns the skin), and do not cure longer than 3 days in dry indoor air (tubers start to shrivel).
Step 5: Choosing a storage method
There are four proven methods for storing dahlia tubers over winter. The right one depends on your storage humidity, space, and how many tubers you're overwintering.
Method A — Saran wrap (plastic wrap)
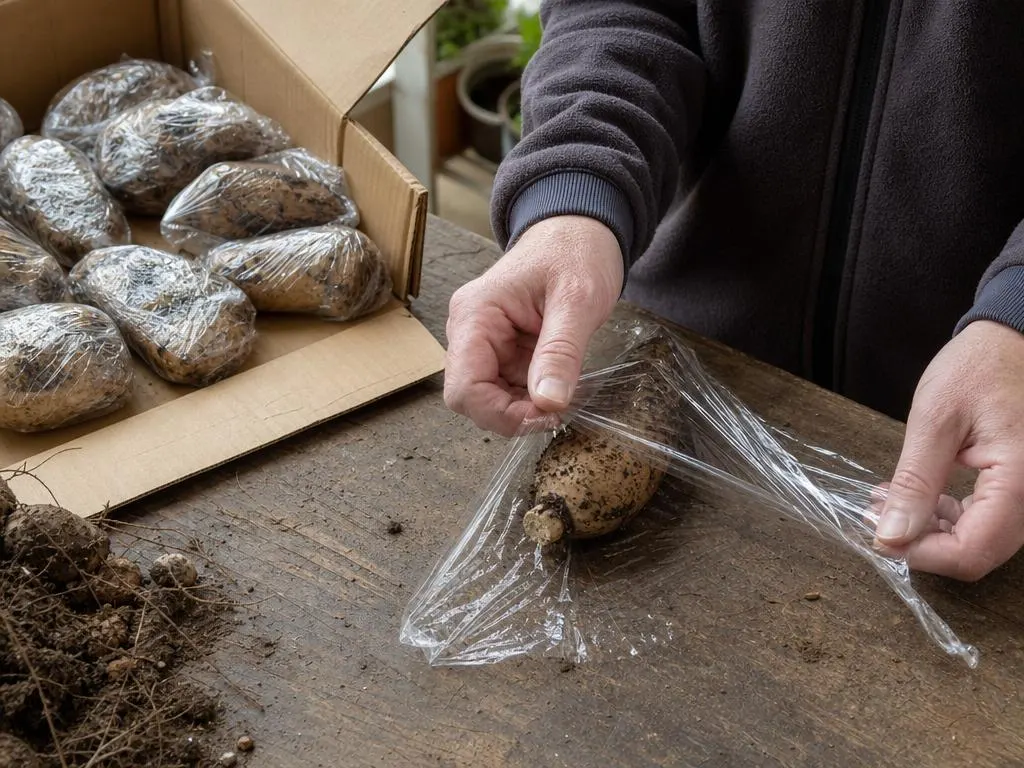
Best for small collections and dry storage areas. Divide first, then wrap each individual tuber tightly in plastic wrap, overlapping so no flesh is exposed. Stack the wrapped tubers in a shoebox or crate.
- Pros: minimal shrivel, easy inspection, no medium to buy.
- Cons: slow (5 minutes per tuber), and rot spreads inside the wrap if you seal a wet tuber.
Method B — Peat moss
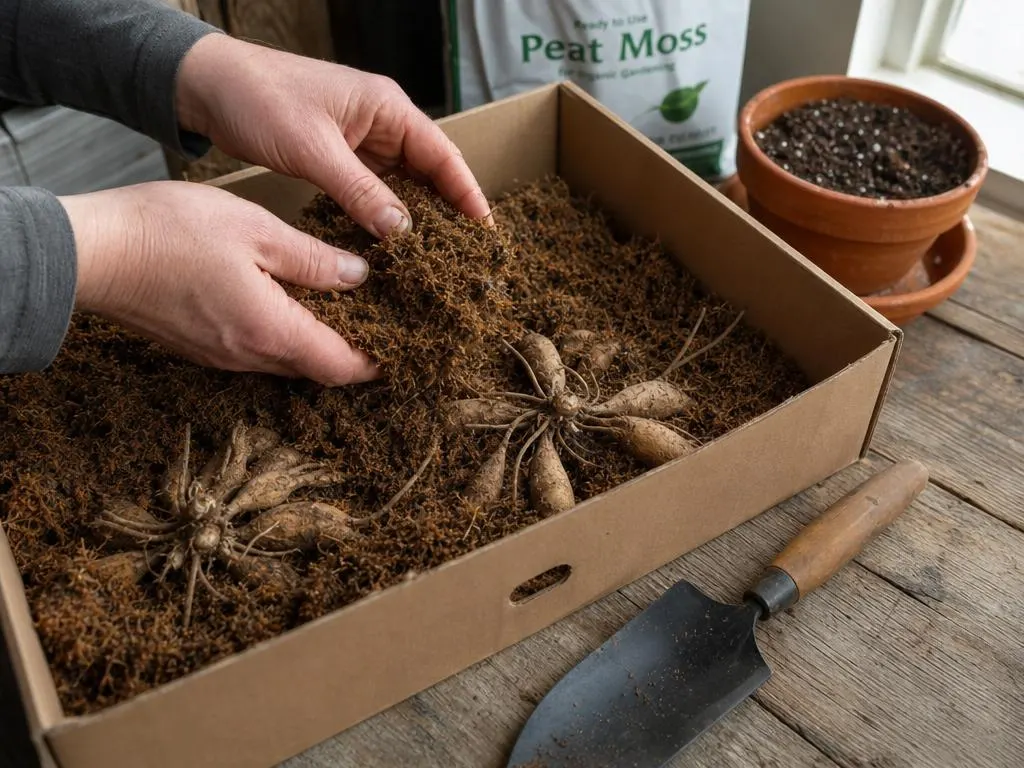
The traditional method. Layer barely-damp peat moss and tubers in a cardboard box, milk crate, or plastic bin with holes. Peat should feel like a wrung-out sponge — squeeze a handful and no water should drip.
- Pros: buffers humidity swings, fast to pack, works for large collections.
- Cons: dusty, and can dry out in heated basements — check monthly.
Method C — Vermiculite
Nearly identical to peat but lighter and less prone to fungal growth. Use coarse-grade vermiculite, lightly moistened. Especially good in slightly damp basements where peat would stay too wet.
Method D — Wood shavings or vermi-perlite blend
Pine or fir shavings (never cedar — it inhibits sprouting) work well in dry climates. Some growers mix 50/50 vermiculite and perlite for a free-draining, mold-resistant medium.
Step 6: Storage conditions that matter
No matter which method you pick, three variables decide whether your tubers survive:
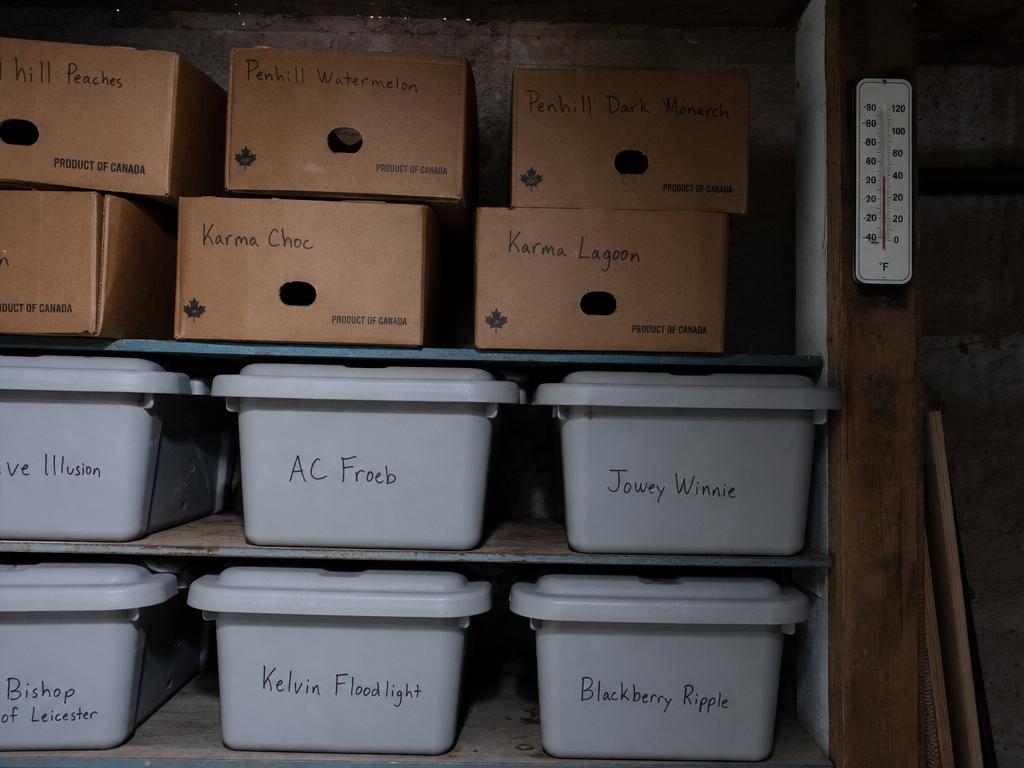
- Temperature: 40–50°F (4–10°C). Below 32°F they freeze and turn to mush. Above 55°F they sprout early and shrivel. Basements, unheated garages, and root cellars usually work.
- Humidity: 80–90%. Too dry and tubers shrivel; too wet and they rot. A cheap hygrometer in the storage container takes the guesswork out.
- Airflow: use containers with holes or loose lids. Sealed plastic bins concentrate ethylene and moisture and cause widespread rot.
Step 7: Winter check-ins
Inspect tubers once a month from November through March. Pull the container out, take the lid off, and look for:
- Shrivel — lightly mist the storage medium (not the tubers).
- Soft spots or fuzzy mold — cut off the affected area, dust the wound with cinnamon or sulfur powder, and re-store.
- Wet condensation — open lids for a few hours to dry, then reseal loosely.
- Early sprouts — move to a colder spot immediately; sprouted tubers are still plantable but need light.
Common storage mistakes to avoid
- Storing wet, freshly-washed tubers — always cure first.
- Sealing in airtight plastic bags — rot is guaranteed.
- Storing in an attached, heated garage that swings above 55°F.
- Skipping labels — every variety looks identical in February.
- Storing next to apples or pears — the ethylene sprouts them early.
Track your tubers so nothing gets lost
A single grower with 30 dahlia varieties easily ends up with 200+ tubers after fall division. Paper tags fade, spreadsheets get abandoned, and by March you're guessing what "the dark pink one in the peat box" actually is.
The BotaNotes Dahlia Diary is built for exactly this. Log every tuber with a photo, the parent variety, the storage method, and the location. Come spring, filter by variety to plan your beds and mark tubers as planted, sold, or gifted. Try the read-only demo before you start a free trial.
Frequently asked questions
Can I leave dahlia tubers in the ground over winter?
In USDA zones 8 and warmer, yes — cut stems back, cover the crown with 4–6 inches of straw or shredded leaves, and top with a waterproof tarp weighted at the edges. In zones 7 and colder, ground temperatures drop below the tubers' 28°F freeze threshold and they will not survive.
How long do dahlia tubers last in storage?
Healthy, well-stored tubers stay viable for 6–8 months — the full window from November dig to April/May planting. Some growers hold tubers a second winter in a spare-parts bin, but viability drops sharply after 12 months.
Should I wash dahlia tubers or leave the soil on?
Wash them. The old "leave the soil on" advice comes from era before indoor climate control — modern basements and garages are dry enough that clean, cured tubers outperform soil-covered ones every time.
Do I need to divide dahlia tubers every year?
Yes, if you want strong plants. Undivided clumps produce weaker stems, smaller flowers, and eventually rot in the center. Divide at least every 2 years — every year if you're growing for cut flowers.